Upgrading your computer's graphics card can significantly enhance your gaming experience, improve video editing performance, and boost overall system responsiveness. This guide will walk you through the process of how to install graphics card, ensuring that even beginners can tackle the task with confidence.
Introduction
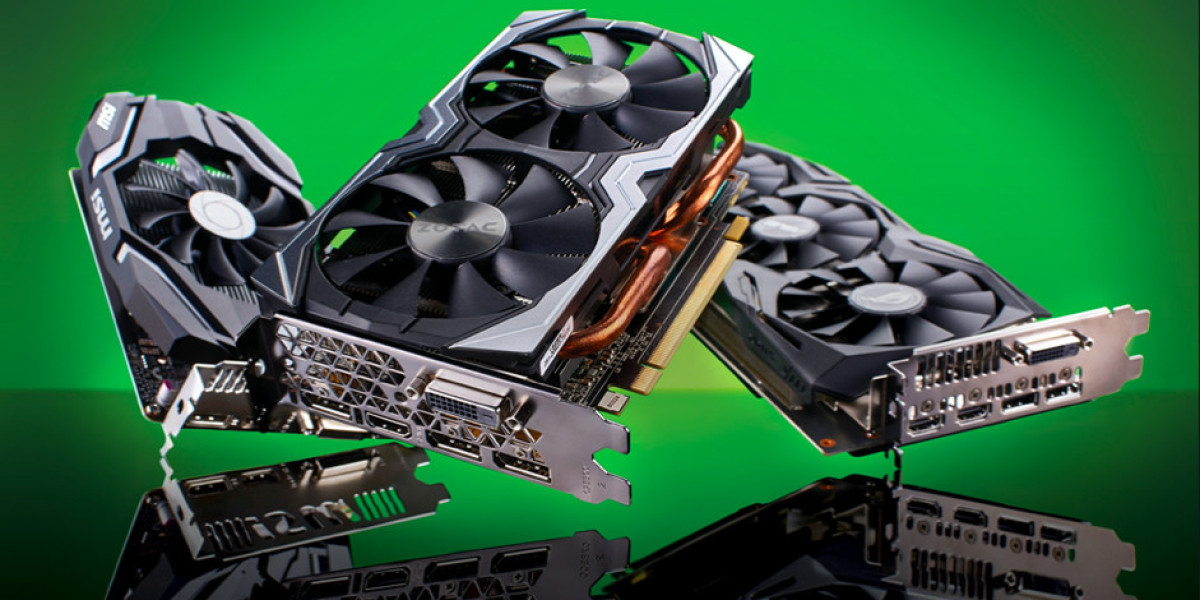
A graphics card, also known as a GPU (Graphics Processing Unit), is essential for rendering images, videos, and animations. Whether you're a gamer, a video editor, or simply want better display performance, installing a new graphics card can make a world of difference. Here's a comprehensive guide to help you through the installation process.
Preparation
Before you begin, gather the necessary tools and components:
Graphics card
Phillips head screwdriver
Antistatic wrist strap (optional but recommended)
Manuals for both your graphics card and motherboard
Ensure your computer is powered off and unplugged. Touch a metal part of your case to discharge any static electricity, or use an antistatic wrist strap to prevent damaging sensitive components.
Step-by-Step Installation
1. Open the Case
Remove the screws from the side panel of your computer case using a Phillips head screwdriver.
Slide off the panel to expose the internal components.
2. Locate the PCI Express Slot
Identify the PCI Express (PCIe) slot on your motherboard. This is typically the largest slot and is usually located near the center of the motherboard.
If there's an existing graphics card, unscrew and gently remove it by pressing the release latch on the slot.
3. Prepare the New Graphics Card
Remove any protective covers from the graphics card's connectors.
Check if your card requires additional power connectors and ensure your power supply has the necessary cables.
4. Insert the Graphics Card
Align the graphics card with the PCIe slot.
Firmly but gently push the card into the slot until you hear a click, indicating it is securely seated.
Screw the bracket of the graphics card to the case to keep it in place.
5. Connect Power Cables
If your graphics card requires additional power, connect the appropriate cables from your power supply.
These connectors typically have 6 or 8 pins and must be firmly attached.
6. Close the Case and Power On
Replace the side panel of your case and secure it with screws.
Plug in your computer and connect your monitor to the new graphics card.
Power on your system.
Installing Drivers
After the physical installation, you'll need to install the latest drivers for your graphics card:
Download Drivers: Visit the manufacturer's website (NVIDIA or AMD) and download the latest drivers for your specific model.
Install Drivers: Follow the on-screen instructions to install the drivers. Restart your computer if prompted.
Conclusion
Installing a graphics card can seem daunting, but with the right preparation and steps, it becomes a straightforward task. By following this guide, you can enhance your computer’s performance and enjoy better graphics for gaming, video editing, and general use. Remember to keep your drivers updated and periodically clean your computer’s interior to maintain optimal performance. Happy computing!